| Return to the selection table |
Bodyworks and painting |
|
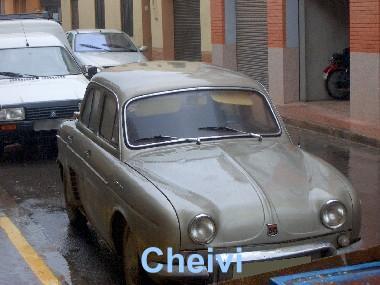
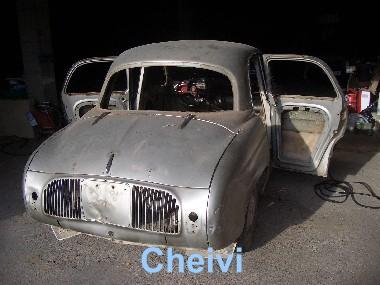
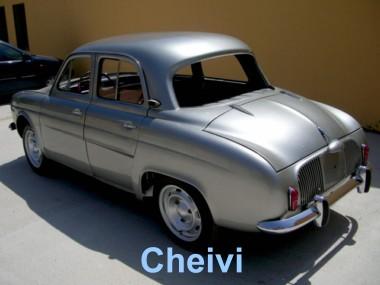
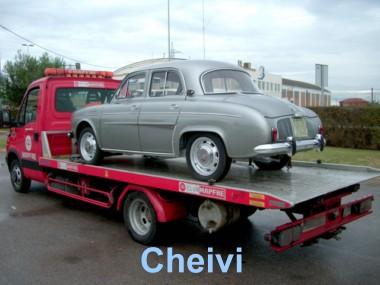
This car has spent his entire life in my family since my father bought it in 1963. After many years of use, it was cornered until one day I decided to start myself restoring classic cars. Complete and in apparent good condition, the restoration seemed relatively easy. The only bad point was the engine, run full of water (or coolant) at some time, and a mechanic removed and dismounted it long ago. It is one of the first 4-speed Ondine which went on sale. Still had 6 volt electrical system. |
|
 |
 |
|
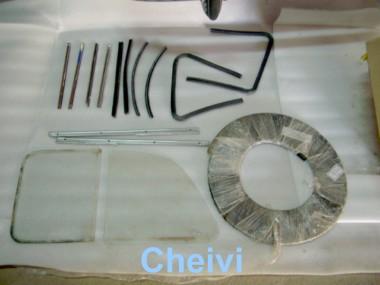
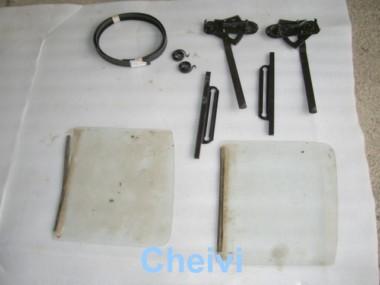
As I started looking at the car I realized that practically dismantle it piece by piece and reassemble it again is something that only can succeed if done in an organized manner. In a restoration is normal to spend several months in the disassembly and assembly. Eventually, if you do not have the vehicle's repair manual, it is virtually impossible to succeed. Additionally it is also necessary to carefully label each piece at dissasembly and very wise to take as many photographs as possible. |
|
 |
 |
 |
 |
|
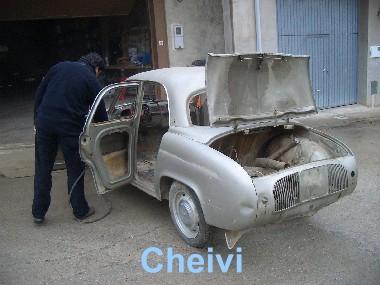
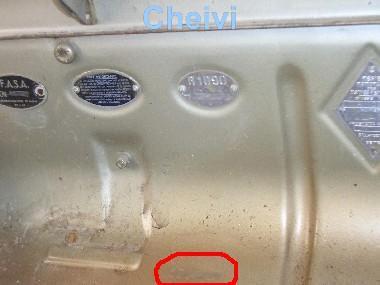
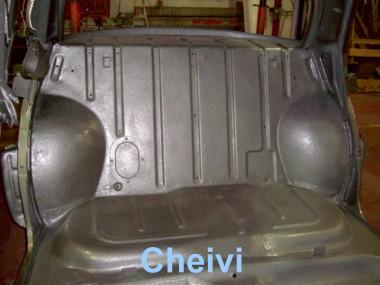
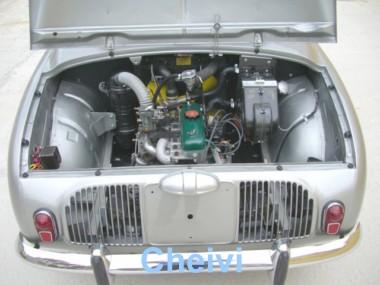
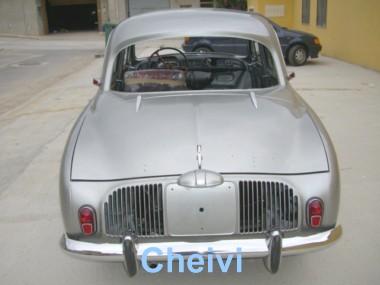
Before undertaking the restoration is strongly advisable to ensure that the vehicle can be administratively rehabilitated and returned to circulation. At this point the Club Español Amigos del Renault 4/4, again, is helpful to help you in administrative tasks. In the case of Ondine, Dauphine and its relatives, name plates and chassis number are found in the trunk (in front of the vehicle because they have rear engine). |
|
 |
 |
|
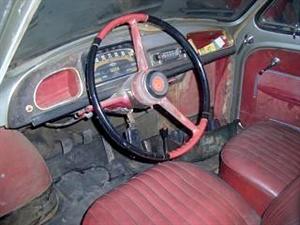
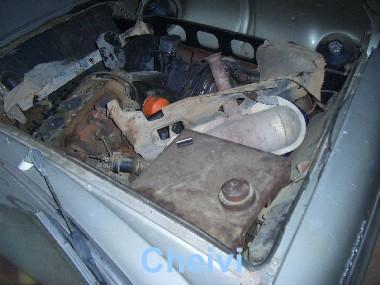
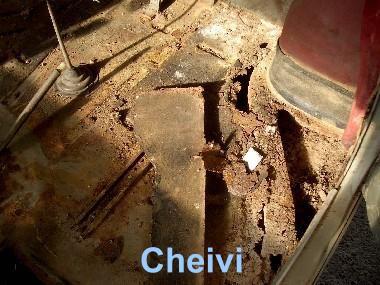
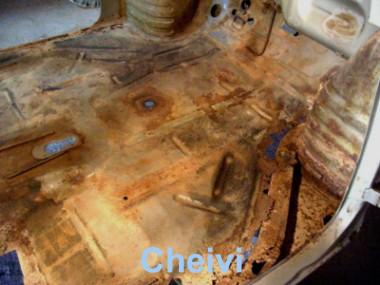
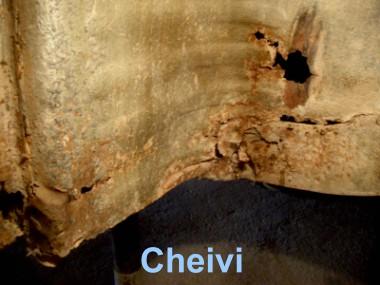
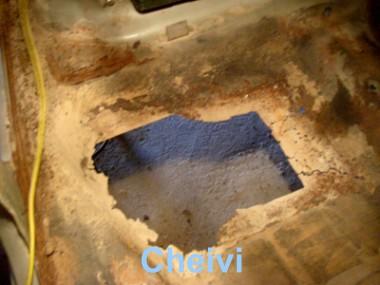
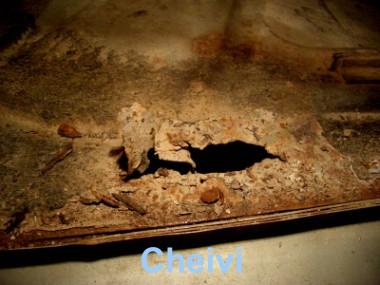
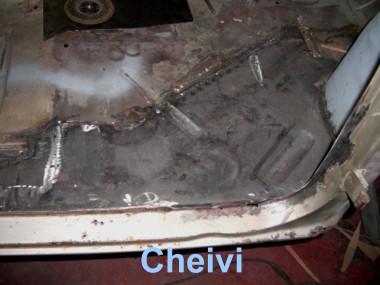
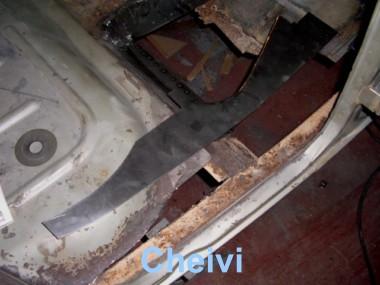
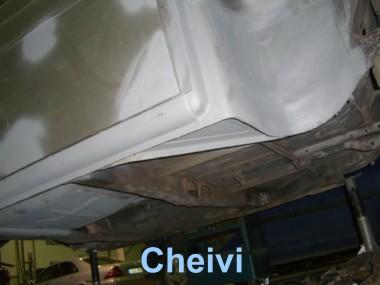
We thought that everything would be easy, but when we removed the mats and we saw what was underneath, came the unpleasant surprise. | |
 |
 |
 |
 |
 |
 |
 |
 |
|
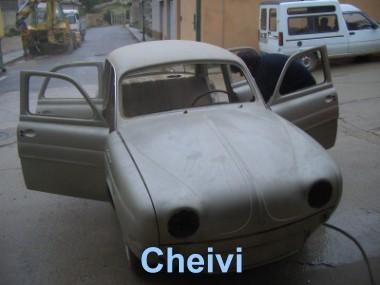
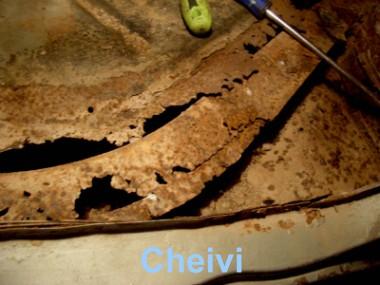
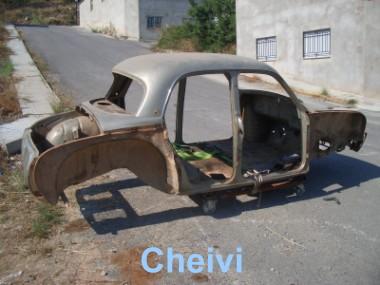
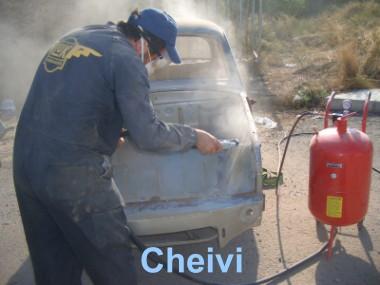
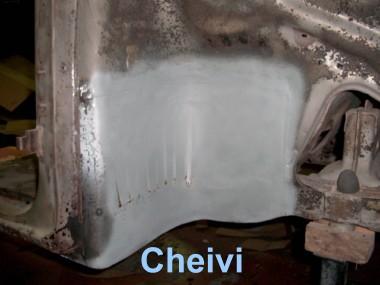
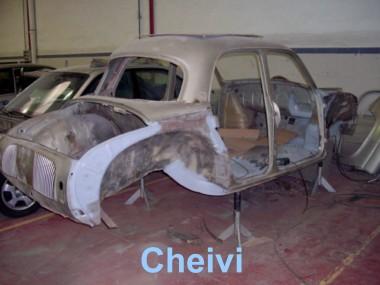
Corrosion of this level is enough reason to discontinue the vehicle's restoration, unless there is some compelling reason to continue. In my case, the sentimental value was stronger and I decided to take this difficult part of recovery. I visited several bodyworks and paint workshops and nobody accepted the job. Logically, a professional can not accept this without charging a fortune. Continually consulting the manuals and marking all components carefully, labeling them, or both, the dismantling proceeded to leave only the whole-body chassis. The rust had deeply affected the right side and the reconstruction of much of the area was essential. The rest of the vehicle had surface rust but overall condition was very good. Once the body was stripped of all mechanics, thoroughly reviewed every square inch with a very simple sand jet machine removing the surface rust. |
|
 |
 |
|
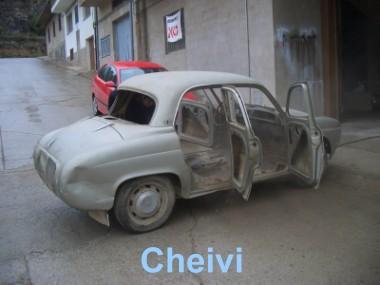
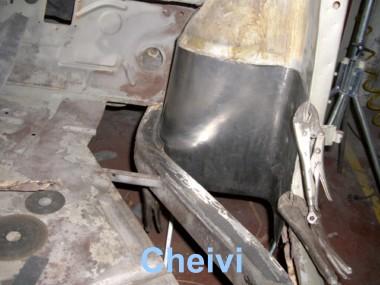
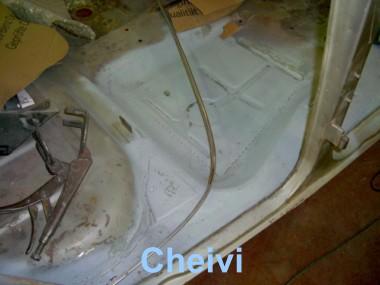
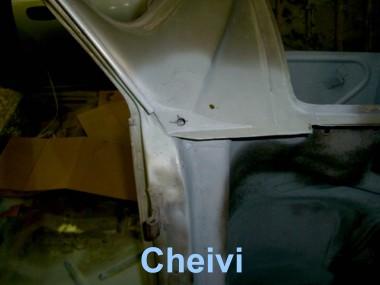
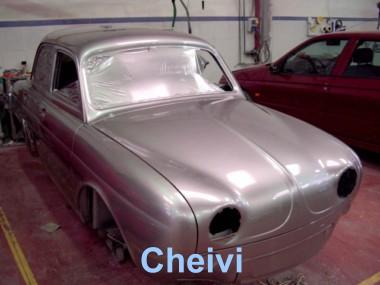
Immediately we applied a coat of primer to prevent re-oxidation. At that point we had found a paint and body workshop who accepted the bodywork repair and painting, which was a huge relief. The next step was to move the chassis to the workshop to wait for the reconstruction work. While I was recovering and processing parts, body works progressed slowly at the workshop. First they rebuilt almost the entire right side, quite affected by corrosion. |
|
 |
 |
 |
 |
 |
 |
 |
 |
 |
 |
|
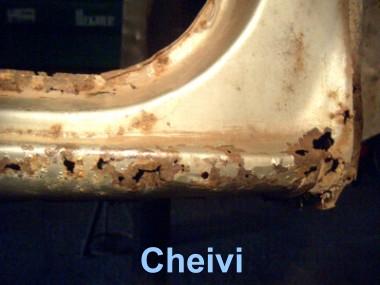
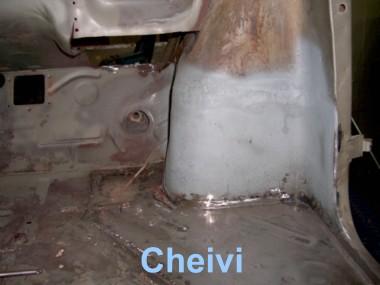
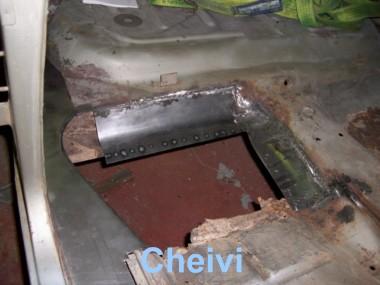
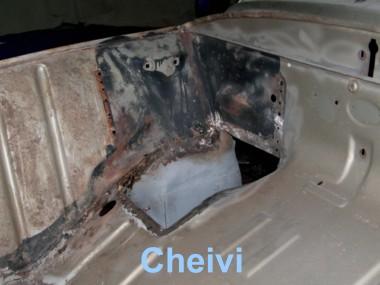
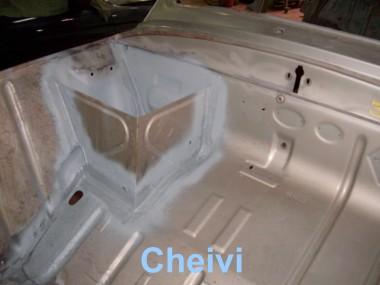
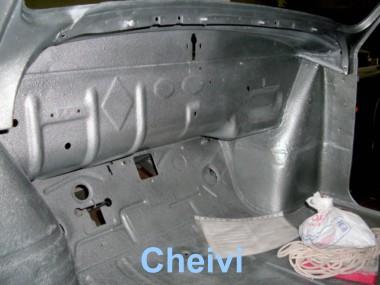
There was additional work in the battery support, where it was necessary to replace all the area. However, the level of corrosion was due to moisture rather than acid. |
|
 |
 |
|
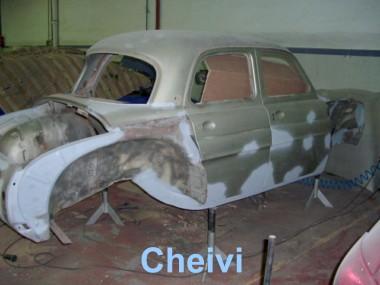
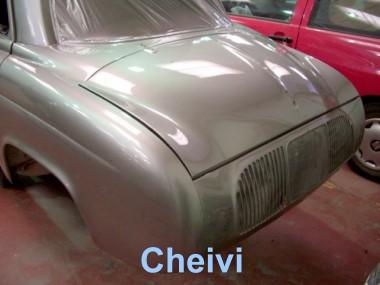
Dents were also repaired in doors and flaps. After this process a general assembly was performed to allow doors and hoods adjustment and alignment with the body without leaving marks in the paint. |
|
 |
 |
|
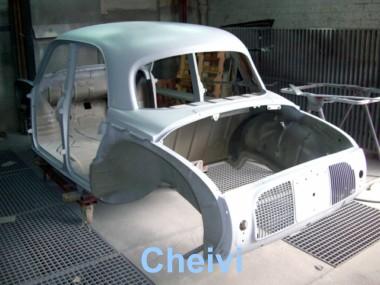
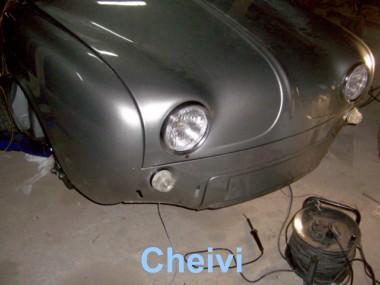
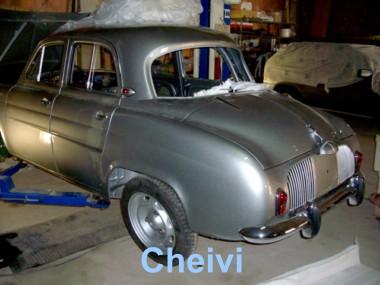
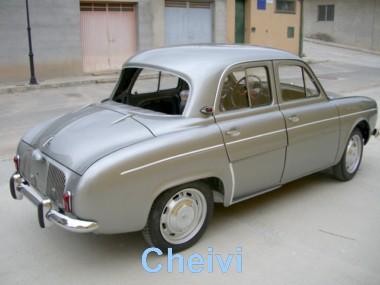
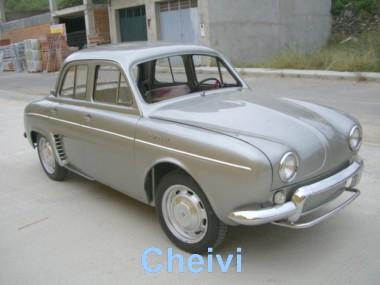
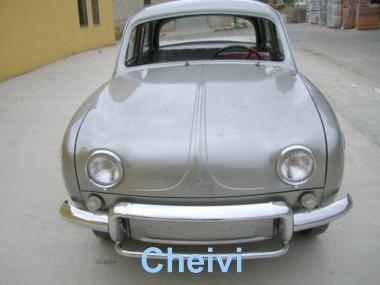
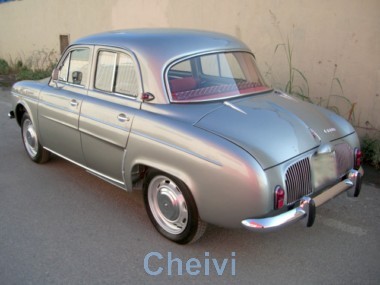
Then, primer and paint were applied, first in the inside and, once definitely assembled doors and fenders, abroad. I had to choose the body color on demand because I was not able locate the original color code. The car's original color was gray metallic. The end result has been extremely close to the original, saving the existing differences with the old metallic painting. |
|
 |
 |
 |
 |
 |
 |
|
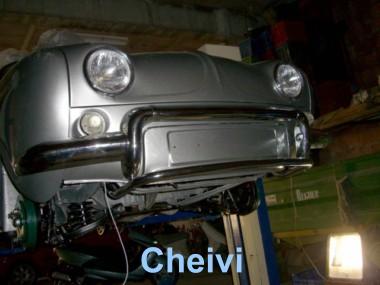
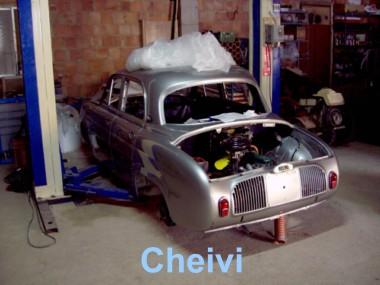
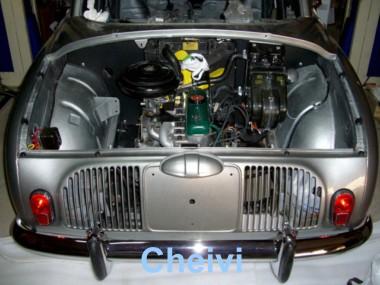
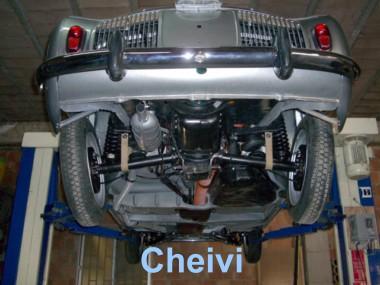
At this point, we could proceed to reassembling. As the car could stand on its wheels and moving by the power of its own engine, we did some run tests in order to check every system for proper performance. In this phase calibrations were performed in clutch, ignition system, purging circuit brakes, alignment of brake shoes, brake adjustment, direction alignment (manually), light beam alignment, etc. |
|
 |
 |
 |
 |
 |
 |
 |
 |
 |
 |
|
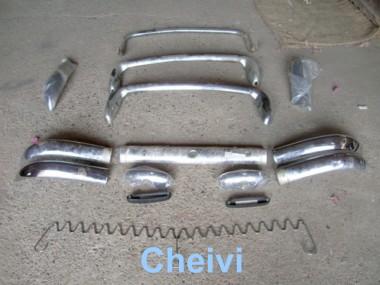
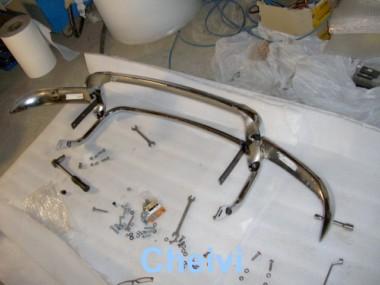
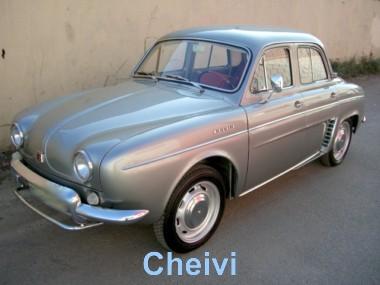
In a few days decorative elements and accessories were mounted on. |
|
 |
 |
 |
 |
 |
 |
 |
 |
|
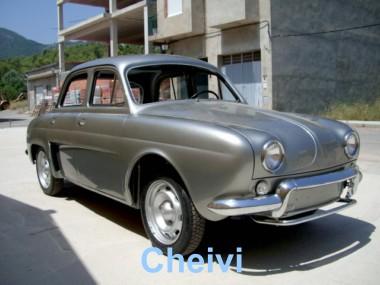
Completed this phase, I started administrative steps to rehabilitate the vehicle (it was decommissioned). After a couple months we were ready to MOT overcoming the last obstacle to again enjoy this family member. |
|
 |
 |
 |
 |
|
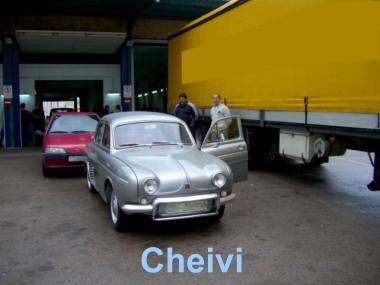
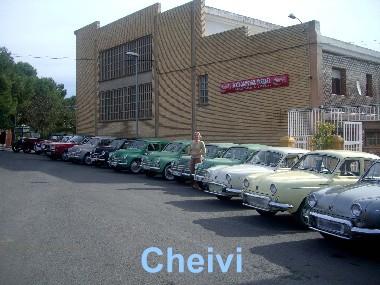
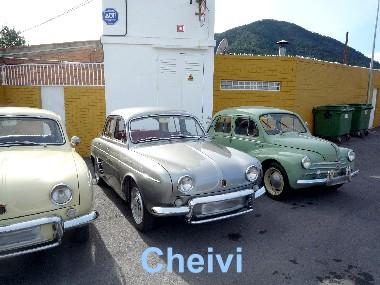
A classic car is not like today's cars and, once the restoration is finished, it is necessary to open a new phase: maintenance. Small jobs are frequently needed and care should be continued if we want our classic to be "in good shape." Additionally, if we would like some improvement or retouching, we must return to the workshop. But this is also enjoyment to all those who have this hobby. Once you are here, it is nice to enjoy with some other classics lovers, who almost always end up being friends, rides, meetings, concentrations and so, where you can share good times. |
|
 |
 |
| Return to selection table |